
ASUS made their target audience clear for the Prime X570-Pro, aiming it directly towards professional users who rely on the performance of their machine to get stuff done, so tweaking in the BIOS might very well play a part here. If you can save yourself a minute or two on a process, several times per day or week, the differences can quickly mount up, so overclocking the processor or RAM would very much make sense here. However, it could also be argued that overclocking isn’t something that you can just stumble into and do, and the line between a professional and a PC enthusiast may become blurred sometimes but you definitely get people strictly either side of the ven diagram. For that reason, you need to know what you’re doing or have a simple BIOS into which you can follow straightforward guides.
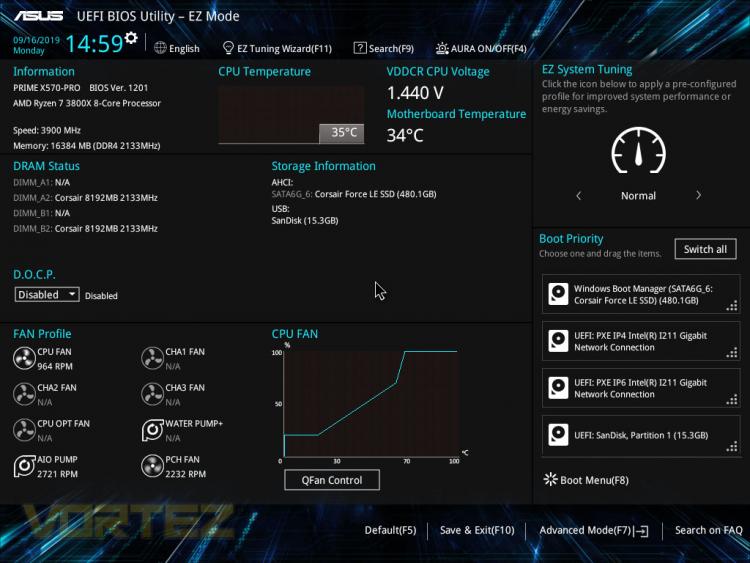
In EZ Mode, there’s the option to turn on XMP for your DRAM kit, something which almost everyone will do when building their own system. However, we hit a small bump here. ASUS, for some reason, call the technology that is almost identical to XMP, D.O.C.P. but if you’re not privy to this information, while scouring the BIOS for the setting, you might find yourself becoming quite frustrated.
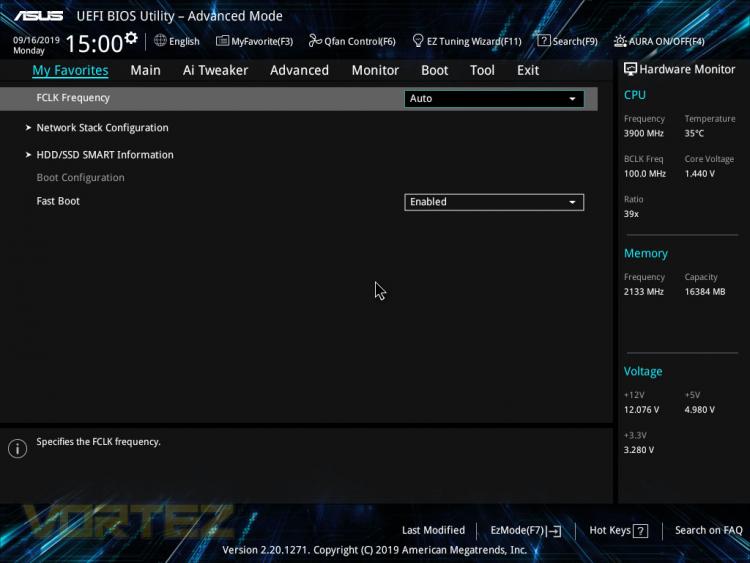
Jumping into the advanced mode, the first tab is “My Favourites”, you can press F3 on any settings found around the BIOS and they’ll be shortlisted here.
On the right hand side there’s a brief breakdown of all of the system’s main frequencies and voltages to check at a glance.
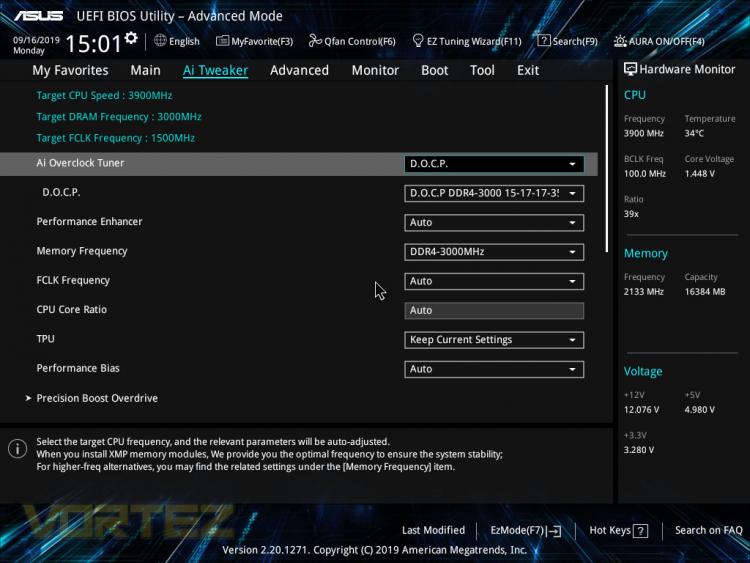
Next up is the AI Tweaker, we’re not sure what the name is for as there’s not really any artificial intelligence going on here, but this is where you can tune the system components to extract some extra performance.
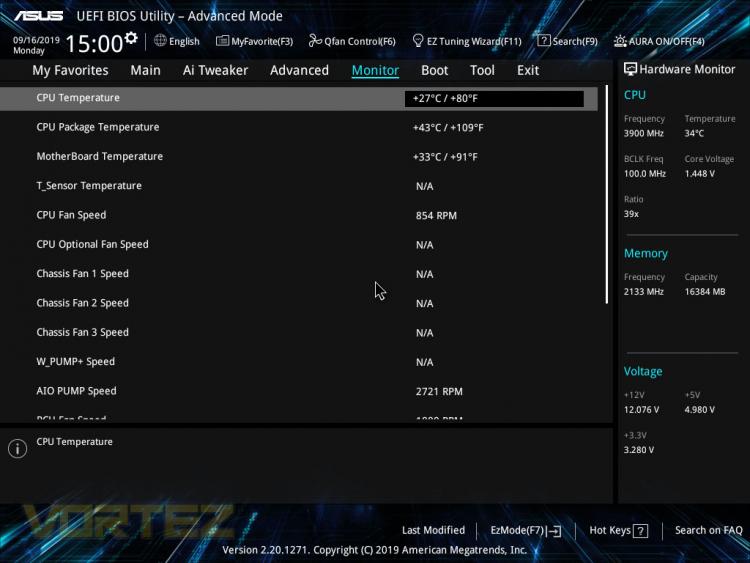
In the Monitor tab, you can keep an eye on all of your system’s temperatures and fan speeds, making sure things are running correctly and nothing’s going wrong.
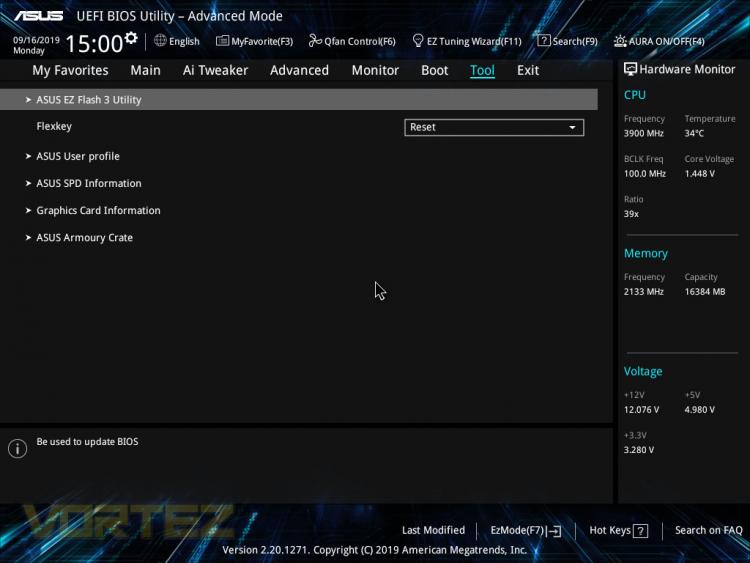
Finally, the Tool tab. On here you can update your BIOS version and check out other obscure sections of the BIOS, such as the SPD information on your DRAM or look into the attached GPU.
In EZ Mode, there’s the option to turn on XMP for your DRAM kit, something which almost everyone will do when building their own system. However, we hit a small bump here. ASUS, for some reason, call the technology that is almost identical to XMP, D.O.C.P. but if you’re not privy to this information, while scouring the BIOS for the setting, you might find yourself becoming quite frustrated.
Jumping into the advanced mode, the first tab is “My Favourites”, you can press F3 on any settings found around the BIOS and they’ll be shortlisted here.
On the right hand side there’s a brief breakdown of all of the system’s main frequencies and voltages to check at a glance.
Next up is the AI Tweaker, we’re not sure what the name is for as there’s not really any artificial intelligence going on here, but this is where you can tune the system components to extract some extra performance.
In the Monitor tab, you can keep an eye on all of your system’s temperatures and fan speeds, making sure things are running correctly and nothing’s going wrong.
Finally, the Tool tab. On here you can update your BIOS version and check out other obscure sections of the BIOS, such as the SPD information on your DRAM or look into the attached GPU.


