
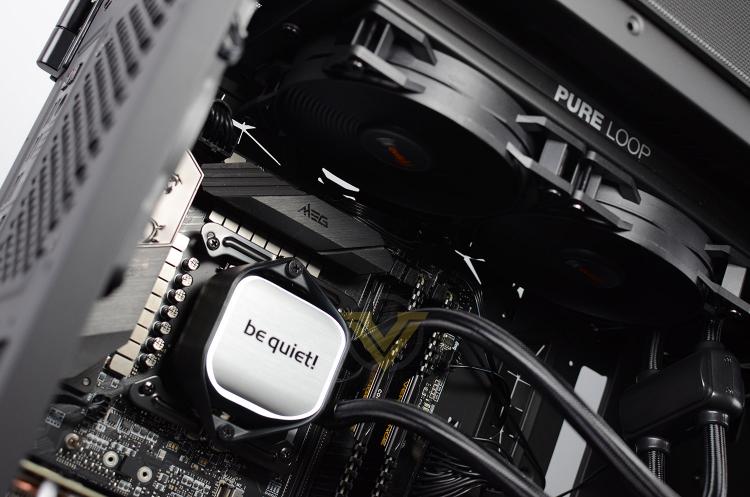
In the very first step of installing Pure Loop into our test system, we attached the two cooling fans to the radiator. be quiet! recommend a push configuration and so we installed the fans in this particular orientation, with airflow passing through the radiator (and then out through the top of the case). As usual, long screws need to be tightened into all four corners of each fan.

The largest and most challenging aspect to installing a liquid cooler within a case comes when trying to fix the radiator and fan combo into the roof of the case, so this is the next phase of our installation. Since our case has plenty of space, and were dealing with the smaller dual-fan model of Pure Loop, we have plenty of space to move into a position of choice. Screws just need to be attached to the top-side.
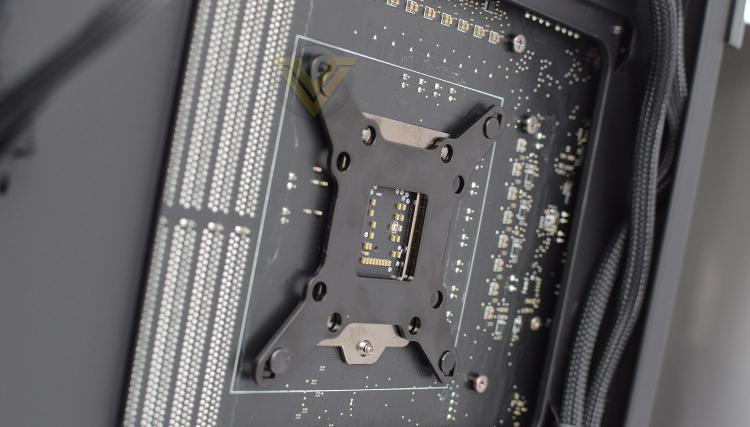
For our CPU cooler reviews were using LGA 1200, which is Intels new socket for 10th Gen. processors. This configuration fits into the same dimensions as previous Intel sockets bearing the LGA 115x. A backplate simply needs to be placed through the back of the motherboard so the mounting holes are visible on the front side.
Over on the other side, four studs need to be screwed into the backplate from the previous step and then two brackets as shown above are then placed over the top and standard screws are attached to the top for fixing into place. This is definitely a fiddly procedure and one which seems to be cumbersome compared to other coolers weve installed.
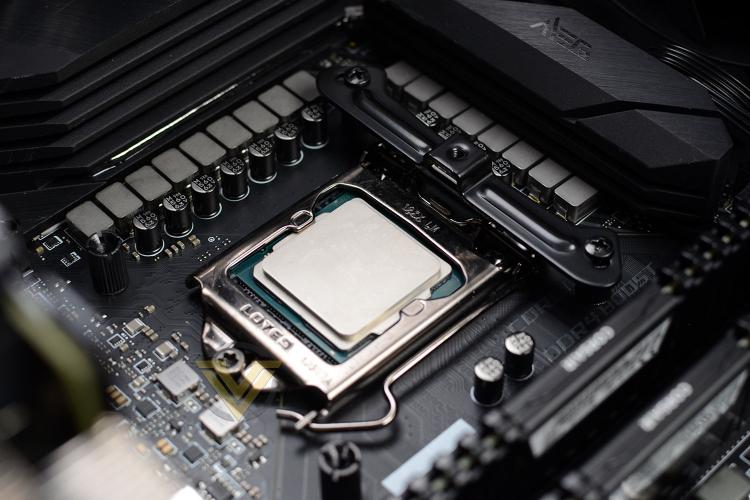
The last step in the install process is to place the block over the CPU, lining up the pre-attached screws to the black crossbars. Its interesting that be quiet! has chosen to go with just two fixing points rather than four that we typically see on CPU coolers. What this means is that you need to apply one turn with the screwdriver on the first screw (until it bites) and then immediately follow up with a turn on the other screw, otherwise there isnt enough leverage.
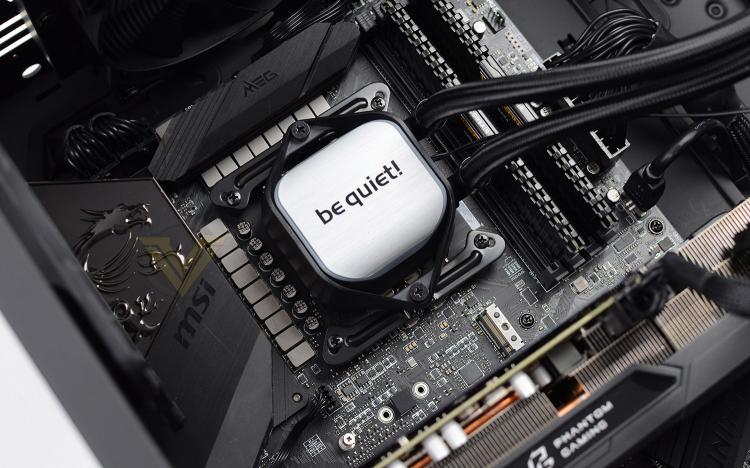
With all these steps complete, were left with a striking design which certainly adds an element of flair to the set up. The white LED border around the block is a nice touch, but it would be more effective and visible if the top plate was darker.
Overall the installation process is fairly easy, we just wish the installation of the crossbars didnt require having to fiddle with screws.


