
With each CPU cooler that we test, a small pea-sized blob of Noctua NT-H1 thermal paste is applied to our CPU ahead of heatsink installation. We choose to use this high-quality paste in all of our CPU cooler reviews, essentially eliminating an unnecessary variable from the subsequent results and comparison graphs.

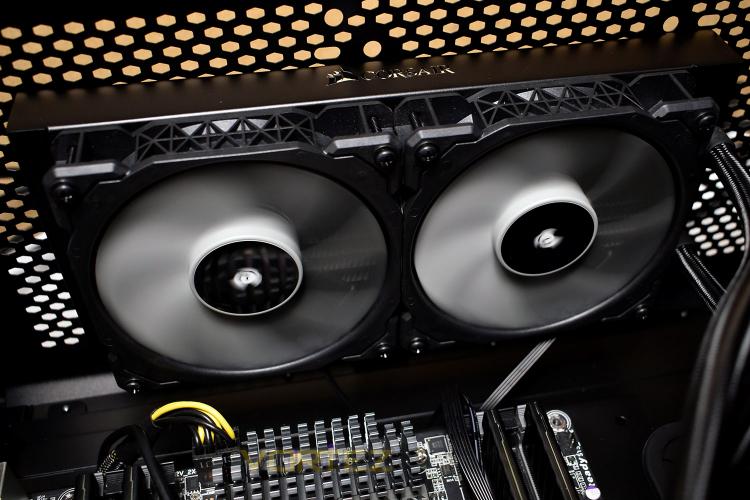
When installing an all-in-one water-cooling loop, we find it easiest to leave the pump until last, first installing the radiator into the top of the case. We placed the fans on the underside and fastened the 240mm radiator into place with the provided screws. Corsair may provide only two fans with the H100i Pro RGB, but they’ve kindly shipped the cooler with 16 lengthy screws, allowing you to install fans on both sides of the radiator when extra cooling is required (you’ll have to arrange a separate method of powering the extra fans, mind you.)
Thanks to Corsair’s research and development team doing their jobs properly, we never encounter any issues when installing their CPU coolers into our machines. The AMD/Intel bracket is easy to swap if required, with a simple twist and click locking mechanism. We installed the H100i Pro onto our Socket 2011 motherboard, finding the large thumb screws easy to use; they’ve very well machined and made from a solid quality metal. Ensuring each corner is turned in a cross-pattern, you’ll find that your thermal paste is evenly distributed under the cooler plate, optimising thermal transfer.

The final stage is connecting up the cables. Everything is simple and straight forward until this point, though it’s only difficult if you seek the cleanest of appearances. The fixed cables from the pump are also a little too short, making cable routing difficult. An extra 100mm adding to the SATA power and Fan Splitter cables would be excellent.
When installing an all-in-one water-cooling loop, we find it easiest to leave the pump until last, first installing the radiator into the top of the case. We placed the fans on the underside and fastened the 240mm radiator into place with the provided screws. Corsair may provide only two fans with the H100i Pro RGB, but they’ve kindly shipped the cooler with 16 lengthy screws, allowing you to install fans on both sides of the radiator when extra cooling is required (you’ll have to arrange a separate method of powering the extra fans, mind you.)
Thanks to Corsair’s research and development team doing their jobs properly, we never encounter any issues when installing their CPU coolers into our machines. The AMD/Intel bracket is easy to swap if required, with a simple twist and click locking mechanism. We installed the H100i Pro onto our Socket 2011 motherboard, finding the large thumb screws easy to use; they’ve very well machined and made from a solid quality metal. Ensuring each corner is turned in a cross-pattern, you’ll find that your thermal paste is evenly distributed under the cooler plate, optimising thermal transfer.
The final stage is connecting up the cables. Everything is simple and straight forward until this point, though it’s only difficult if you seek the cleanest of appearances. The fixed cables from the pump are also a little too short, making cable routing difficult. An extra 100mm adding to the SATA power and Fan Splitter cables would be excellent.


