
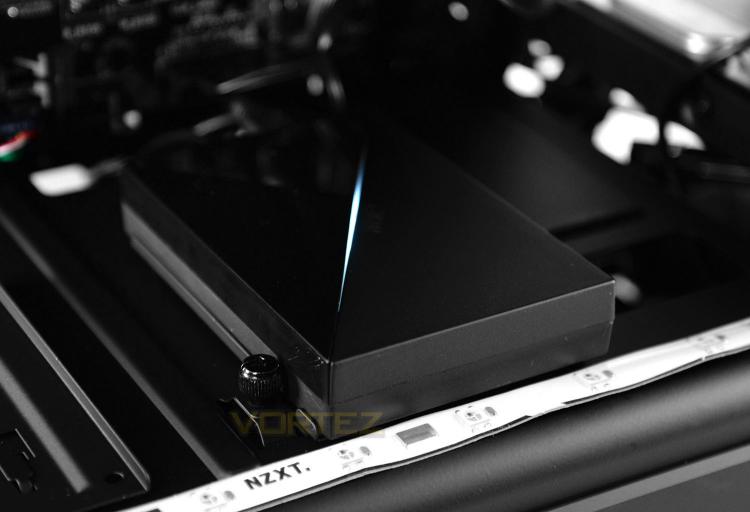
To keep things nice and tidy we installed the Hue+ unit inside one of the 2.5” brackets at the bottom of the chassis. By having the ports facing the motherboard tray we can feed any cables through the cut-outs on the motherboard tray.
Following the guide, we were up and running with Hue+ in approximately 15 minutes.
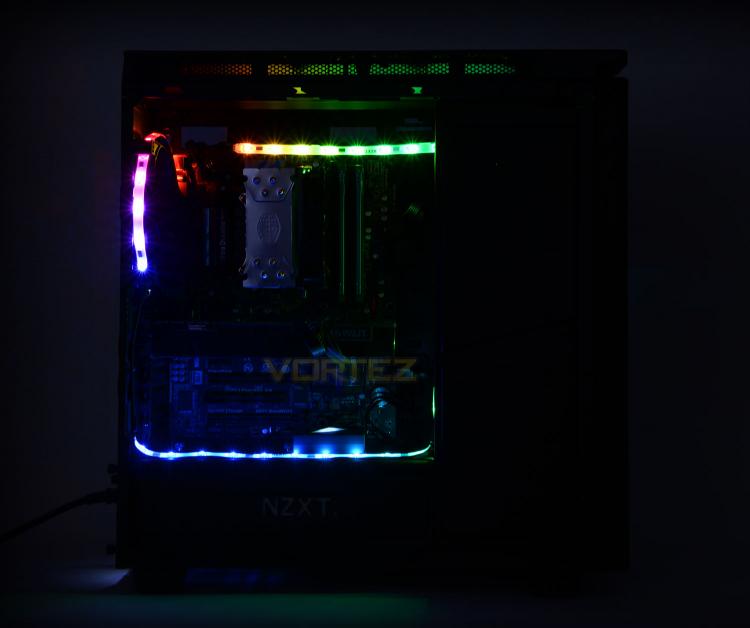
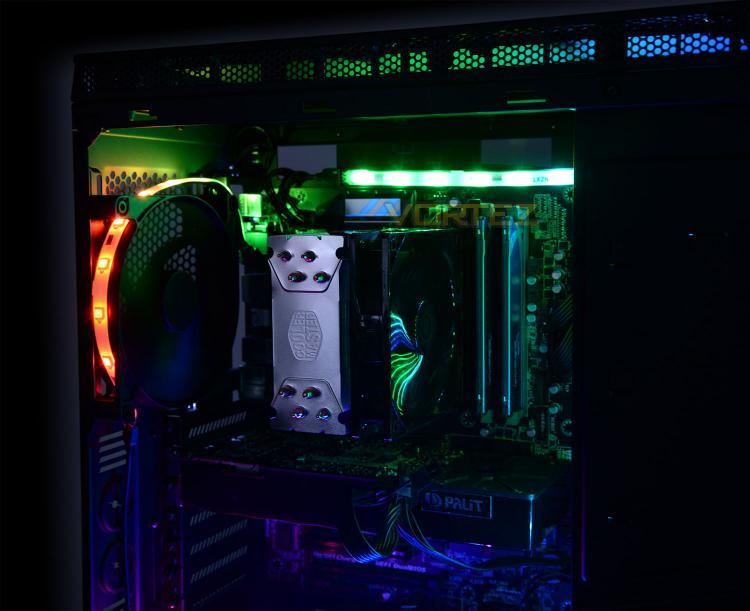
Above is a demonstration of the animated spectrum effect which Hue+ can take advantage of. Additional to the physical installation of the necessary cables and strips – to get the most out of Hue+ its necessary to install NZXT’s CAM software. CAM enables a number of pre-defined colours and animations and even allows for advanced customisation which provides the user the option to set specific colours when the CPU or GPU hits a certain temperature milestone.
So overall, Hue+ is a versatile piece of kit which will give any windowed chassis a vibrant and lively setting.


