
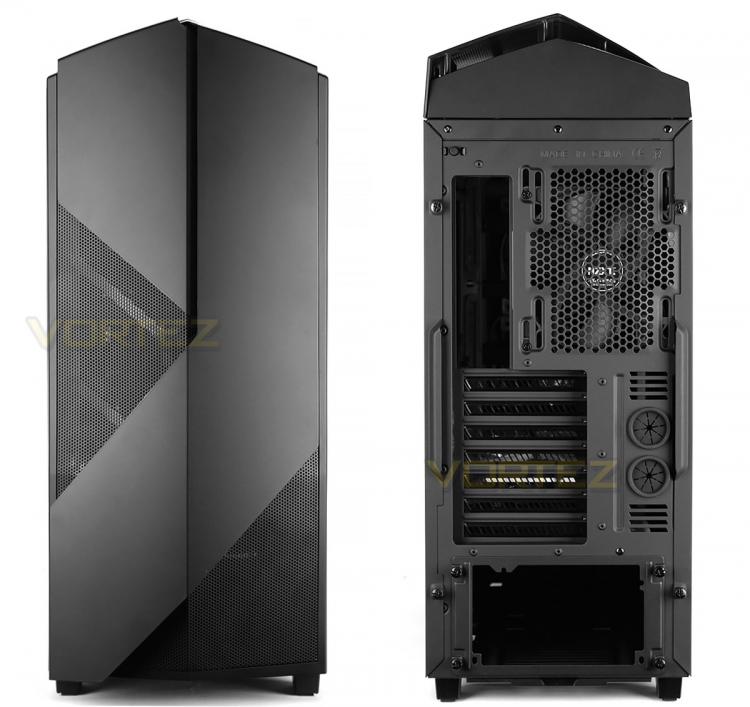
The front of Noctis 450 uses a plastic fascia which has a central fold with perforated mesh and a soft matt surface texture – there are no 5.25” drive bay covers. This panel can be removed as shown below.
Around the back there is an opening at the bottom for mounting the PSU. The PSU will need to be installed from the rear by removing the facing plate. Above this there are seven PCI expansion slot covers, each with ventilation cut-outs and there is more ventilation to the side with circular rubber grommets. In the upper region there is an FN V2 140mm cooling fan pre-installed.
In the far left corner there is a small switch – this controls the LED functionality throughout the case. Allowing the logo, floor and rear IO lighting to be modified.
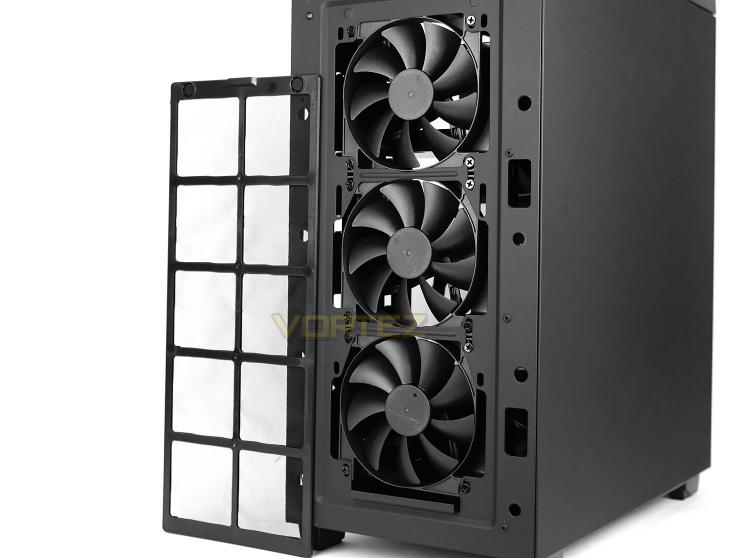
Detaching the front fascia reveals a trio of FN V2 120mm cooling fans. These fans bring cool air into the case since they are configured as intakes. There is also mounting holes at the front for two 140mm fans – hinting at the possibility to house 240/280mm radiators.
NZXT include a magnetic dust filter which can be easily removed and cleaned.
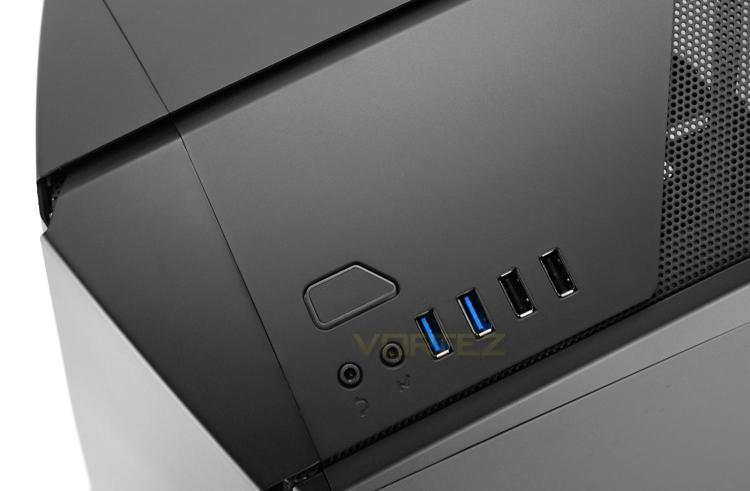
Up at the top of Noctis 450 there is a small selection of ports and a button which comprise of the front panel connectivity.
Included are two USB 3.0 ports, two USB 2.0 ports, headphone and microphone jacks and a power button.
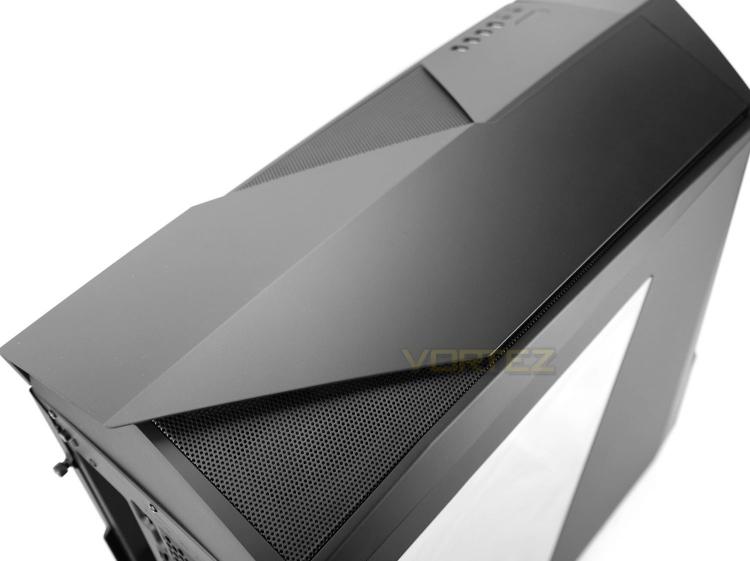
Further back from these controls is the top section of the case which, just like the front, makes use of a folded plastic panel with sharp contours and two sections of perforated mesh to allow the upper section some ventilation. This panel can also be removed and features space for mounting cooling fans/radiators – we’ll be exploring this when we move inside the chassis.
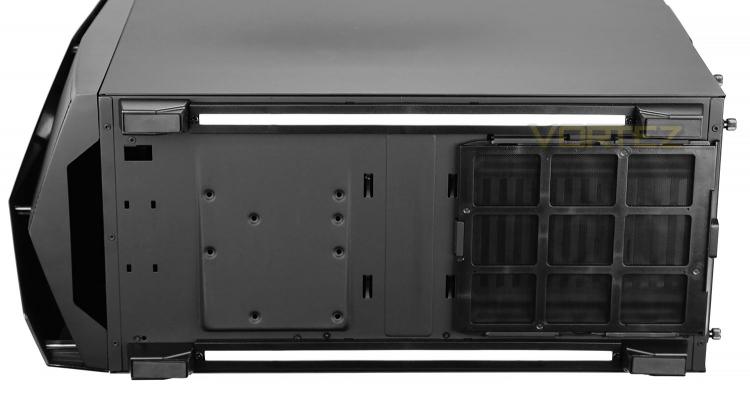
Flipping Noctis 450 over onto its side we can see the underneath of the case. There are four rubber feet to prevent the case from slipping on smooth surfaces and between these feet there are two long LED strips – when the system is powered up these LEDs will illuminate the flooring. Also seen from this view is the detachable dust filter which sits just below the PSU. This can be taken away and cleaned without having to place the case on its side.
On the next page we’ll be moving inside the case for a look at the internal layout and features.


