
The temperature diode cables included with the Sentry 2 have a length of approximately 60 cm. The length should accommodate most computer cases. These cables initially come stuck together, but the five cables can be easily separated. Each cable comes with a label from TEMP1 to TEMP5. Ideally, these temperature diode cables should be placed at a location near the fans connected to the power cables with the same number. These numbers will be indicated on the Sentry 2’s screen, and they will be useful if you plan on using the Sentry 2’s automatic fan control mode.
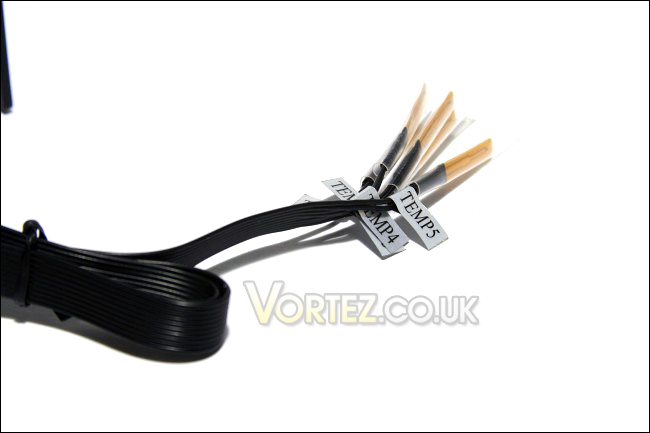
The temperature diodes with labels
As for the power cables of the Sentry 2, there are in fact six of them. One of them is the power cable for the device (a 4-pin pass-through molex connector of length 65 and 70 cm) and five fan power cables with molex and 3 pin (length of 70 and 75 cm, respectively). Initially, the fan cables are stuck together, and it looks like a total mess. Indeed, this might be a cable management enthusiast’s worse nightmare. However, these cables can be easily separated and some effort and patience will be needed to route these cables properly to optimize airflow inside a computer case.
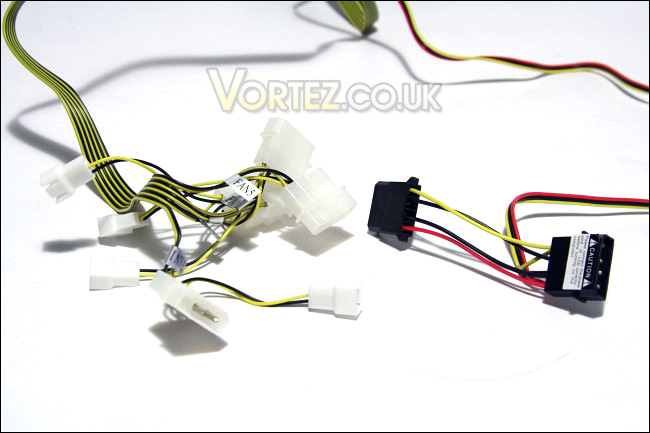
The power connectors with labels
The temperature diodes with labels
As for the power cables of the Sentry 2, there are in fact six of them. One of them is the power cable for the device (a 4-pin pass-through molex connector of length 65 and 70 cm) and five fan power cables with molex and 3 pin (length of 70 and 75 cm, respectively). Initially, the fan cables are stuck together, and it looks like a total mess. Indeed, this might be a cable management enthusiast’s worse nightmare. However, these cables can be easily separated and some effort and patience will be needed to route these cables properly to optimize airflow inside a computer case.
The power connectors with labels


