
So we now know how many errors RegistryBooster considers the system's registry to have and in what categories these errors were found. To fix them is simply a matter of clicking Fix errors on the Scan results page to have RegistryBooster automatically repair or remove the corrupt entries.
Fixing Errors
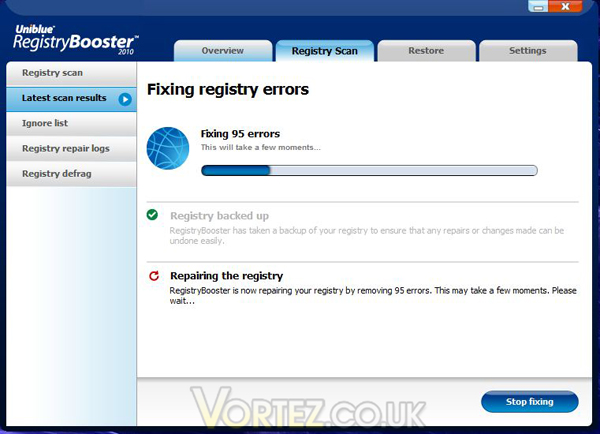
You'll note from the screenshot that the first thing that happens is that RegistryBooster creates a backup of the registry to ensure that any changes can be undone should you require. This is a very important step and I am glad to see it is an automated one here, as for those who don't know already a corrupted registry can stop your system dead in it's tracks and without a backup you could be looking at a total re-installation to recover from it!
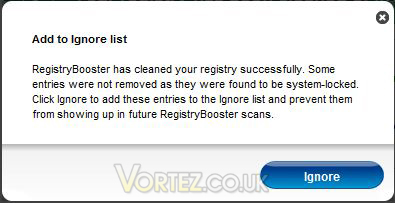
Once the fixing process has completed (less than a minute on my system) I was presented with the following notification saying that some entried were not fixed as they were locked by the operating system and as such they could be added to an 'Ignore List' so that they wouldn't be shown in future scans.
Ignore List
Click 'Ignore' to add the OS locked entries.
In my case a reboot was needed now to finalise the process and it did seem to me that the system started just that little bit faster, it's hard to quantify with having only had 95 errors as that is actually pretty low really (remember I said this system hasn't been in use for more than a couple of months so it should have been pretty clean to start with) – I'm sure however that continued use over time will keep my system starting and running smoothly.
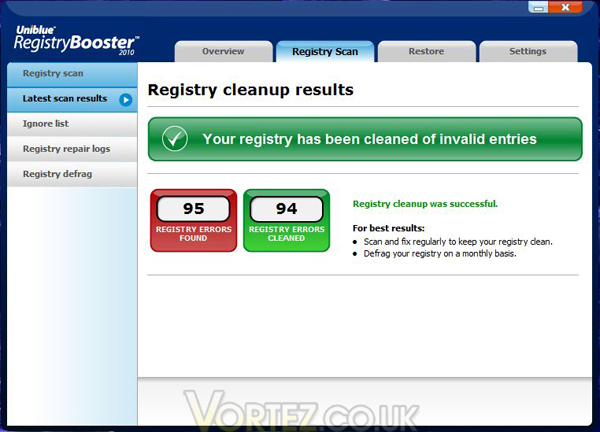
And that's it, you're done! You now get back to the main screen where you can check into the other features of the software. The first thing you'll see is a summary screen showing the result of the fixing process.
Fixing Result
So there we go – it really is a one-click fix!
You'll note from the screenshot that the first thing that happens is that RegistryBooster creates a backup of the registry to ensure that any changes can be undone should you require. This is a very important step and I am glad to see it is an automated one here, as for those who don't know already a corrupted registry can stop your system dead in it's tracks and without a backup you could be looking at a total re-installation to recover from it!
Once the fixing process has completed (less than a minute on my system) I was presented with the following notification saying that some entried were not fixed as they were locked by the operating system and as such they could be added to an 'Ignore List' so that they wouldn't be shown in future scans.
Click 'Ignore' to add the OS locked entries.
In my case a reboot was needed now to finalise the process and it did seem to me that the system started just that little bit faster, it's hard to quantify with having only had 95 errors as that is actually pretty low really (remember I said this system hasn't been in use for more than a couple of months so it should have been pretty clean to start with) – I'm sure however that continued use over time will keep my system starting and running smoothly.
And that's it, you're done! You now get back to the main screen where you can check into the other features of the software. The first thing you'll see is a summary screen showing the result of the fixing process.
So there we go – it really is a one-click fix!


