
To gain access to the unit software needs to be downloaded from Y-Cam’s website, once this is installed you then need to connect camera up with power/network cable. The camera needs to be powered up and connected to the router via the Ethernet adapter and cable.
With the software we can locate the camera on the network and establish the initial connection/settings.
Once the login credentials have been input by the prompt, you are met with a landing page which gives access to Live View or Settings. Live View will show you the camera in operation whilst the settings allow you to customise many different options.
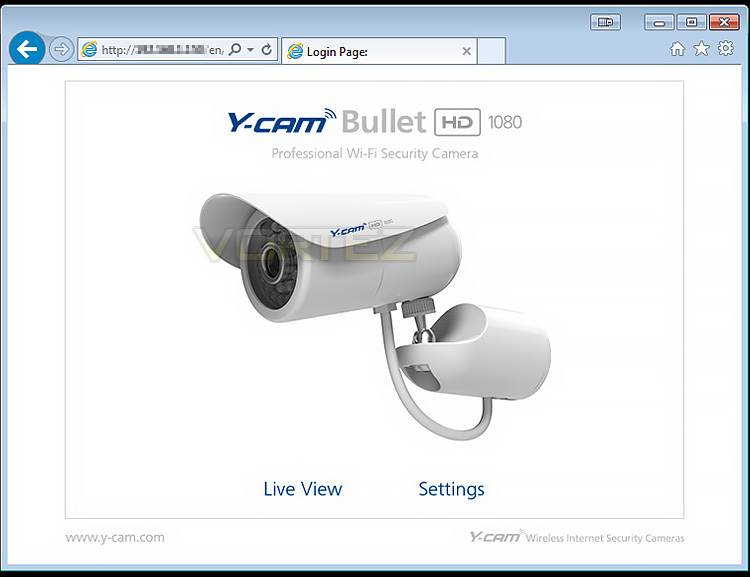
The welcome page when logging in
There are a large selection of options which can be altered to give lots of flexibility. Below we’ve produced a video clip which navigates through the integrated software – showing how extensive this software suite really is.


